15mm Yayoi vs. Jomon (Bronze Age Japan)

Description of battles, photos, videos, victory!
Post Reply
Texus Maximus
Sergeant
Posts: 362
Joined: Tue Dec 13, 2016 4:04 am
Location: Dallas, Texas

15mm Yayoi vs. Jomon (Bronze Age Japan)

Post by Texus Maximus » Sat Mar 15, 2025 11:48 pm

Stephen and I met once again in Fate, Texas for a game session. The armies we use were both based on the Yayoi army list; essentially Bronze-Age Japanese armies with no mounted troops. One of the Yayoi armies is designed to represent the Jomon Culture, some of the earliest people of what is now called Japan. Both armies have 16 stands of infantry:

Yayoi
4 x Heavy Foot (w/ General)
2 x Light Spear
10 x Skirmishers

Jomon
2 x Heavy Foot(w/ General)
5 x Light Spear
9 x Skirmishers

Steven took the Yayoi for the first game and was the invader. The terrain is Hilly, but we ended up with only two steep hills in the corners which did not effect the game. The third terrain piece was a stream, mostly on the Yayoi side.

Deployment and Plans

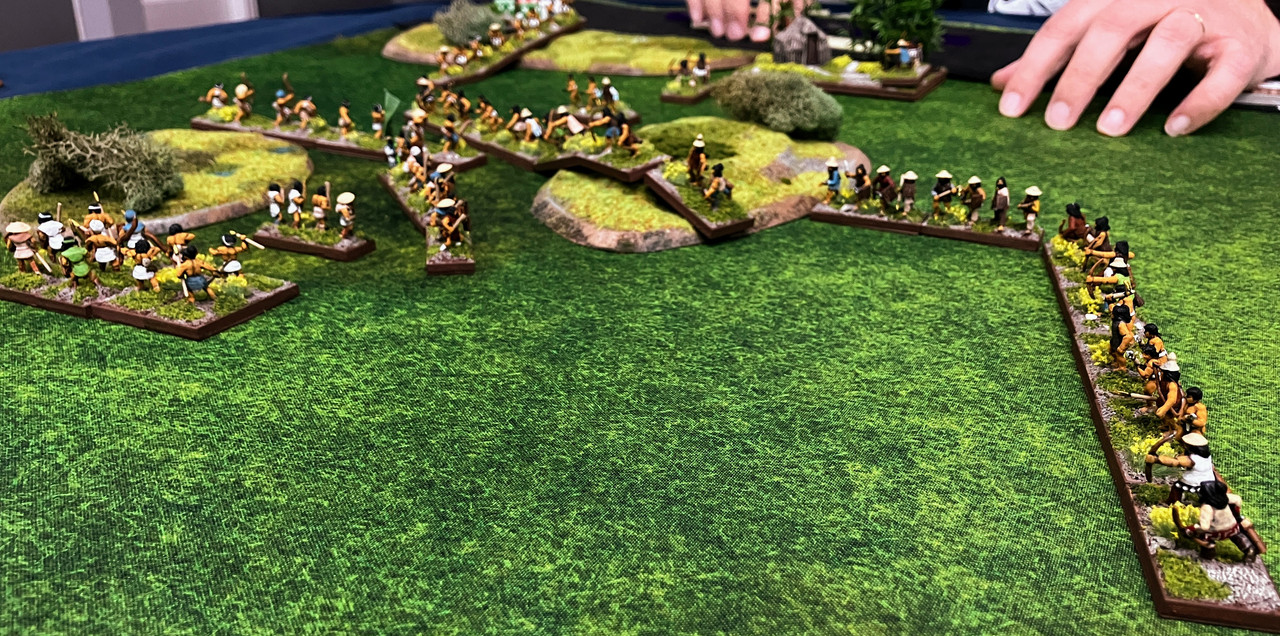
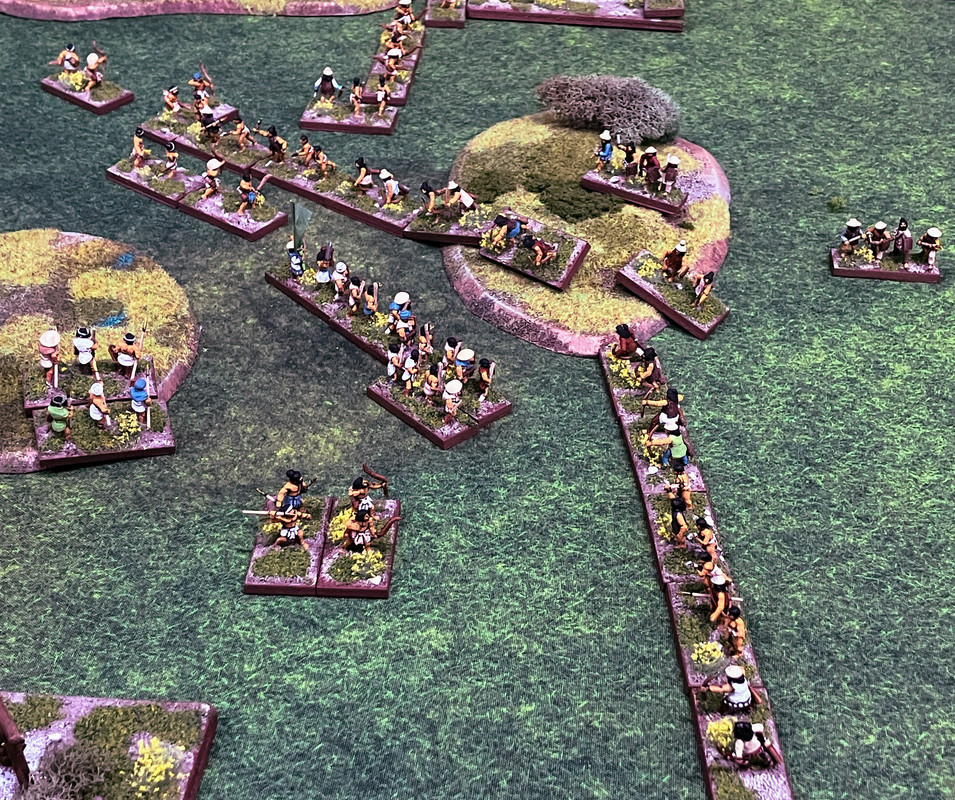
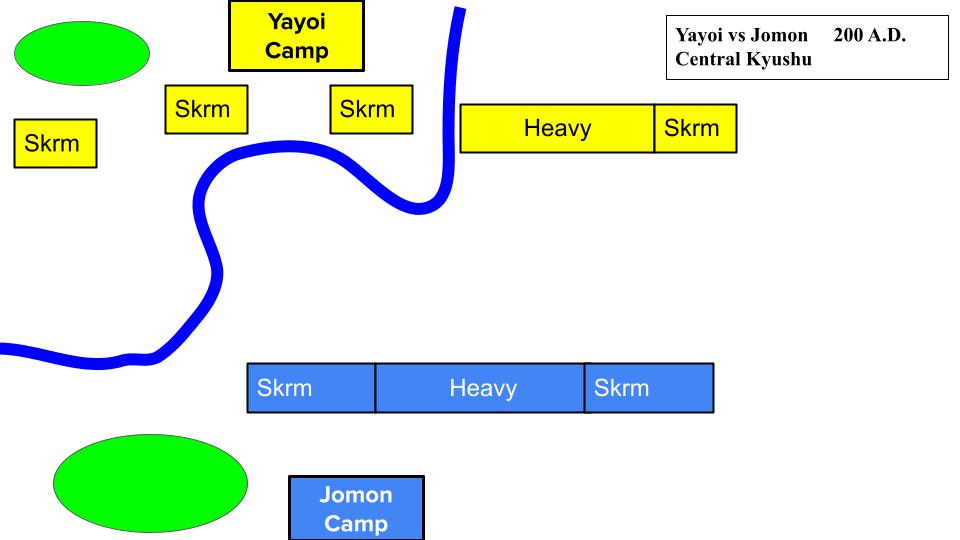
The Jomon plan was to attack with the Heavy Foot and Light Spear on the open ground on the Yayoi left flank. A small force of Skirmishers was left to hold off the Yayoi light troops in front of their camp. The Yayoi plan was to remain on the defensive . Three groups of light troops were ready to cross the stream and take up the attack if possible.

Image

The Battle


Image

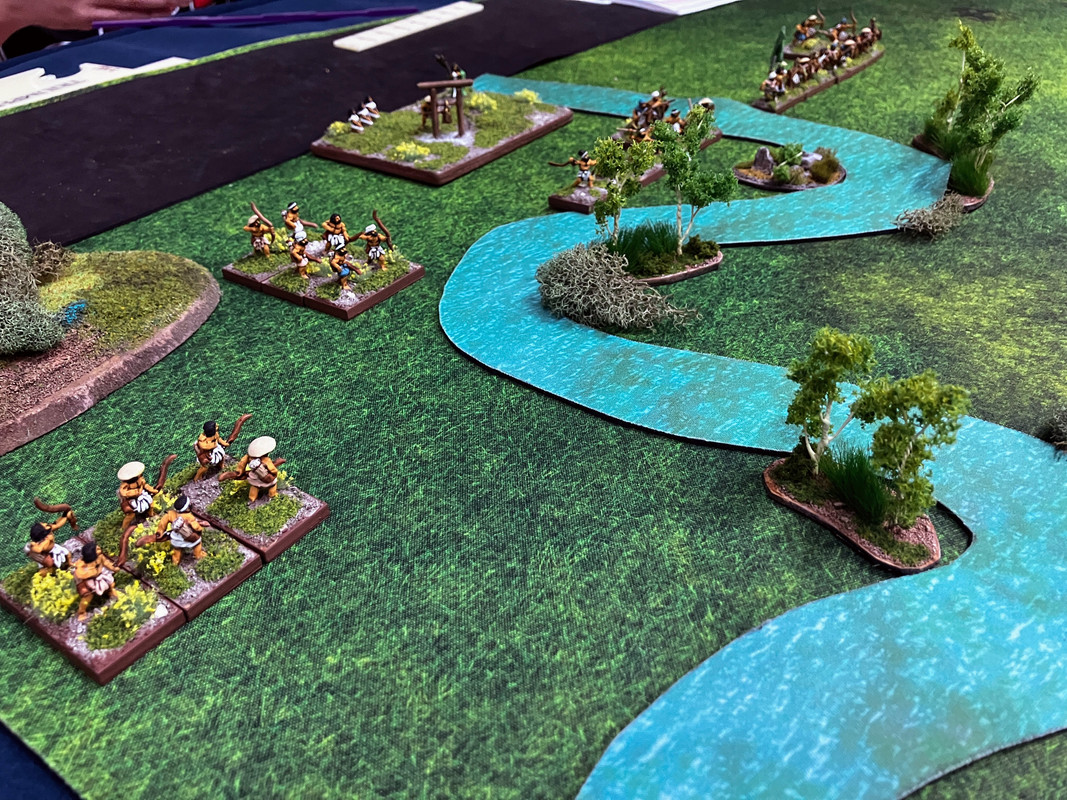
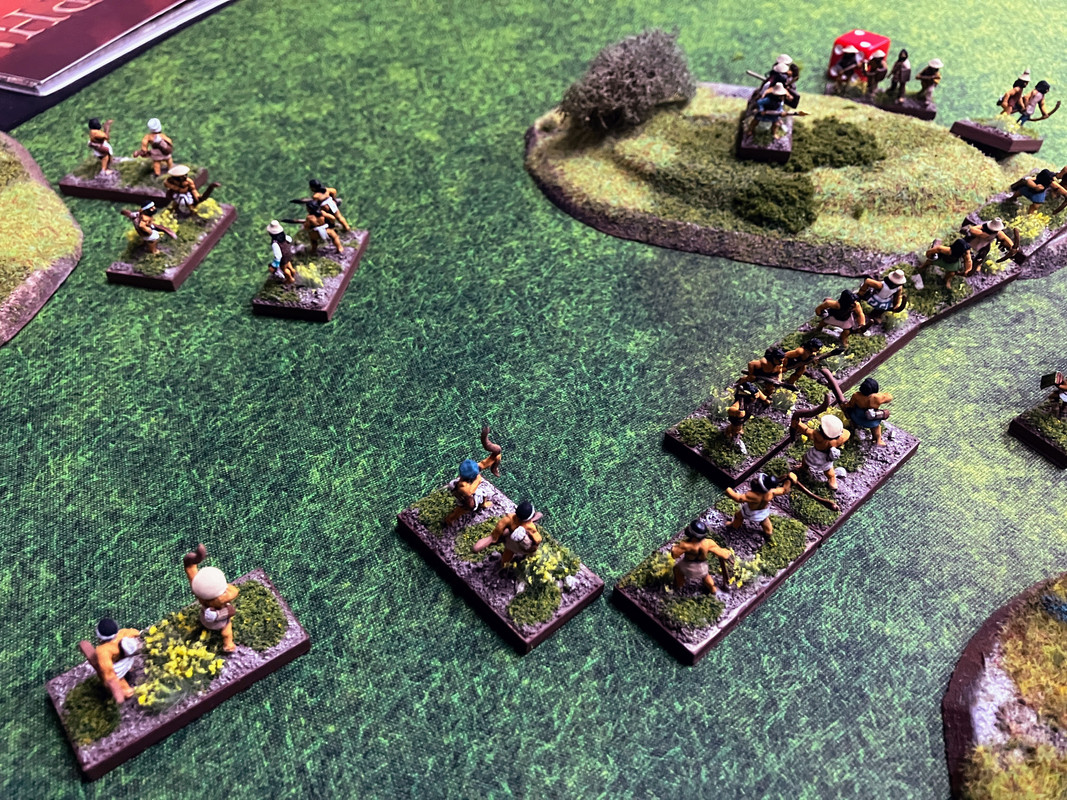
Three groups of light troops wait on the far side of the stream.
Image

The Light Spear and supporting Skirmishers are set to block access to the camp and support the heavy infantry on the other side of the stream.
Image

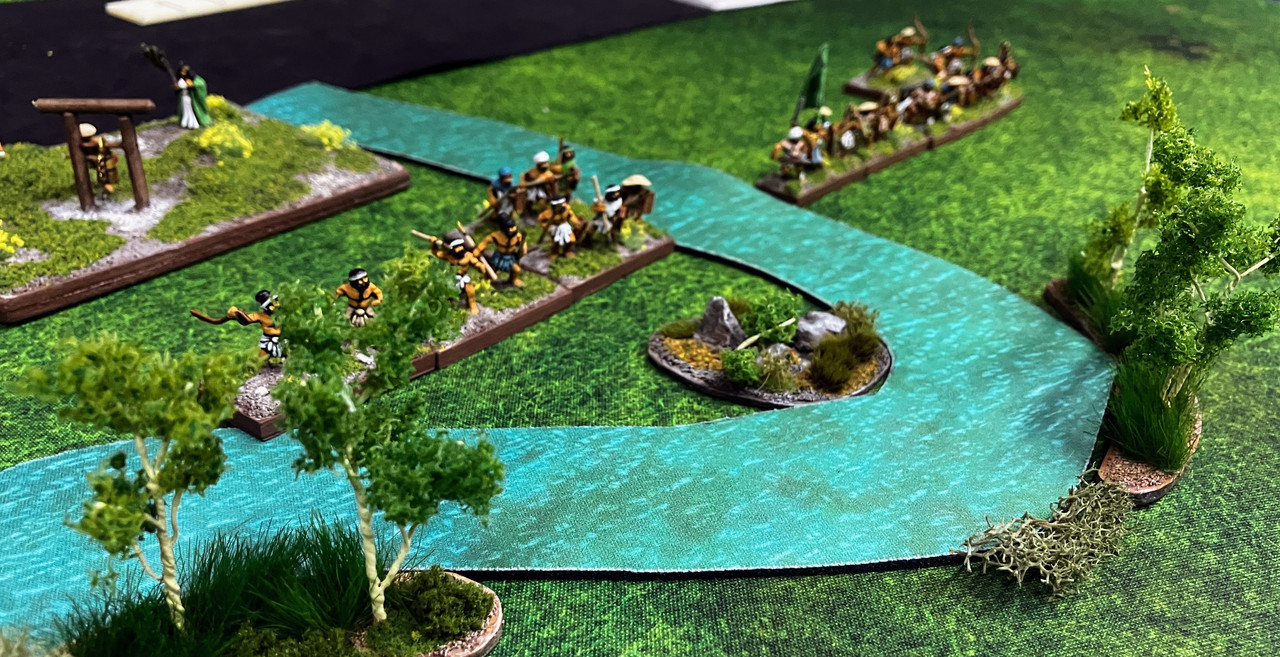
The Heavy Foot and supporting Skirmishers can be seen on the far side of the stream.
Image

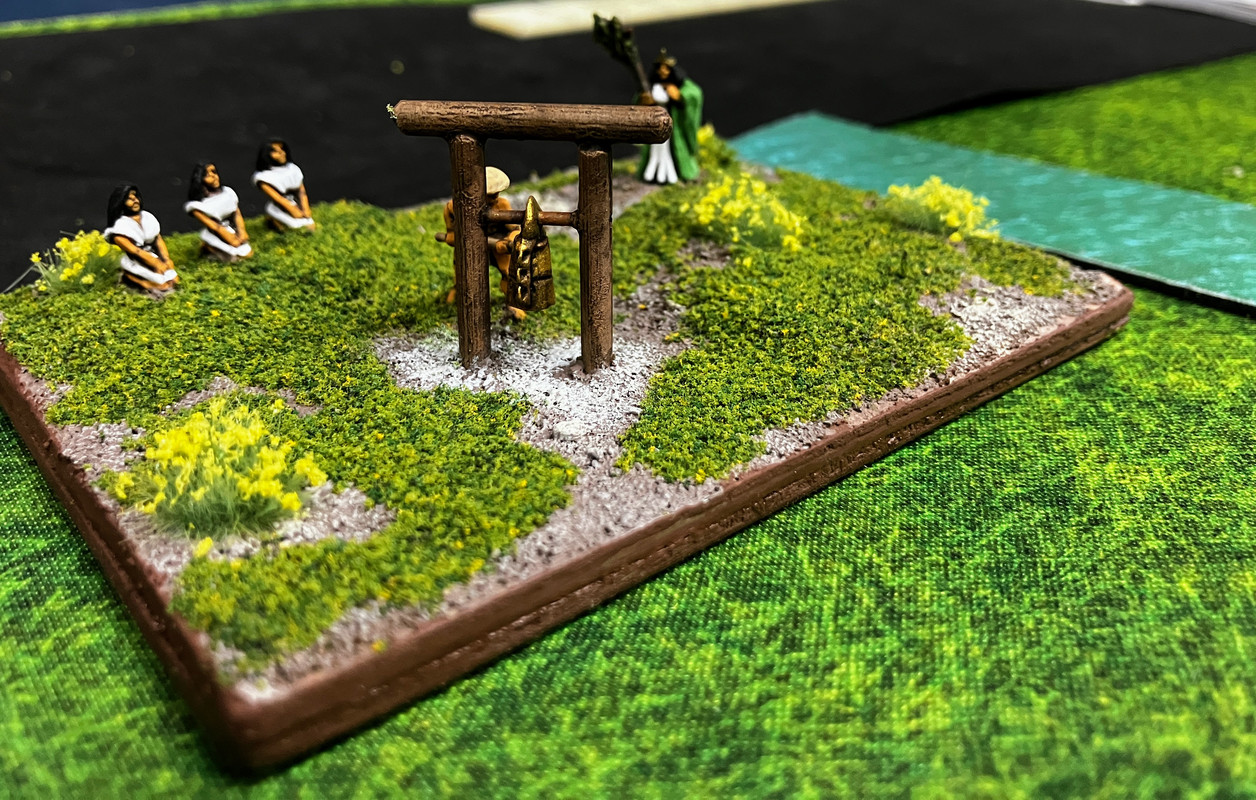
The shamaness-queen Himiko presides over a ceremony guaranteed to give victory and bring this well-watered and fertile land under her control.
Image

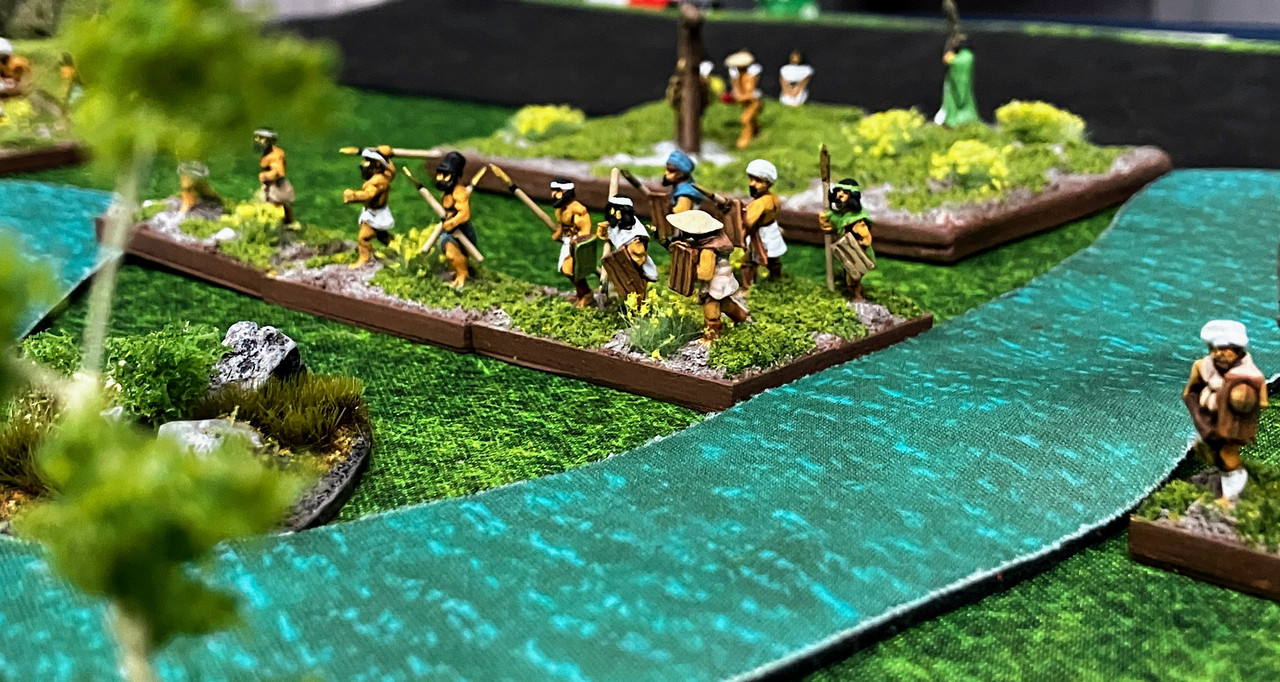
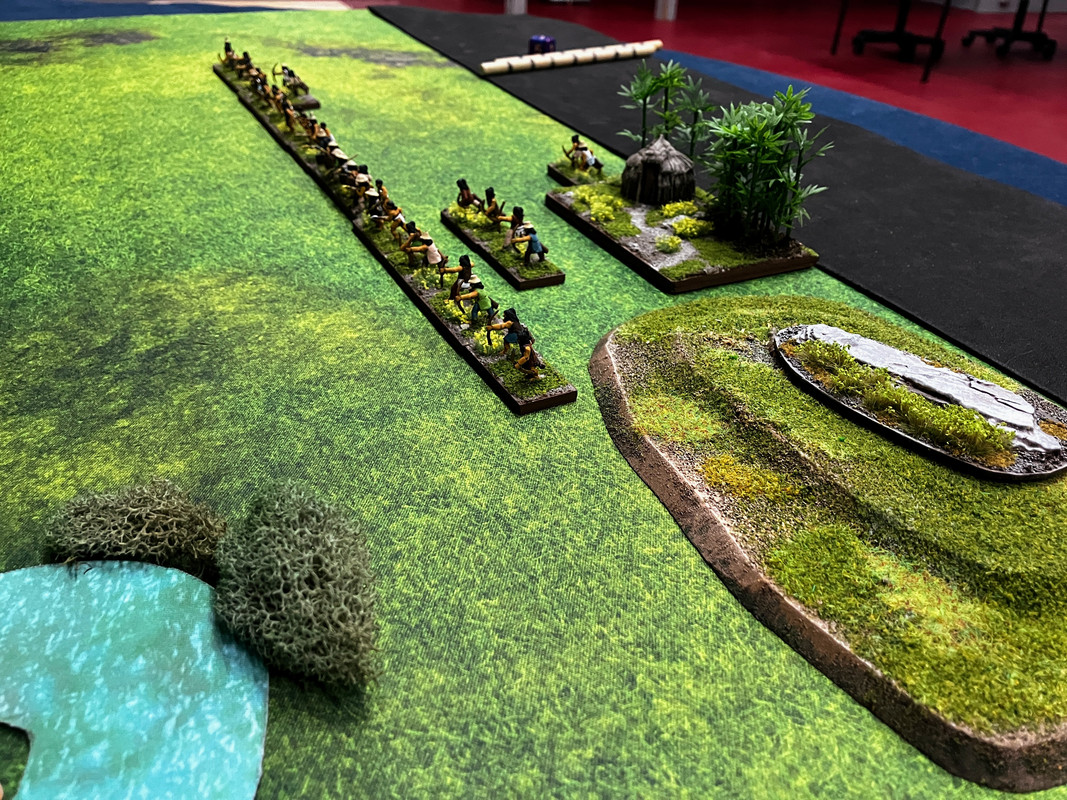
The Jomon people prepare to defend their peaceful valley.
Image

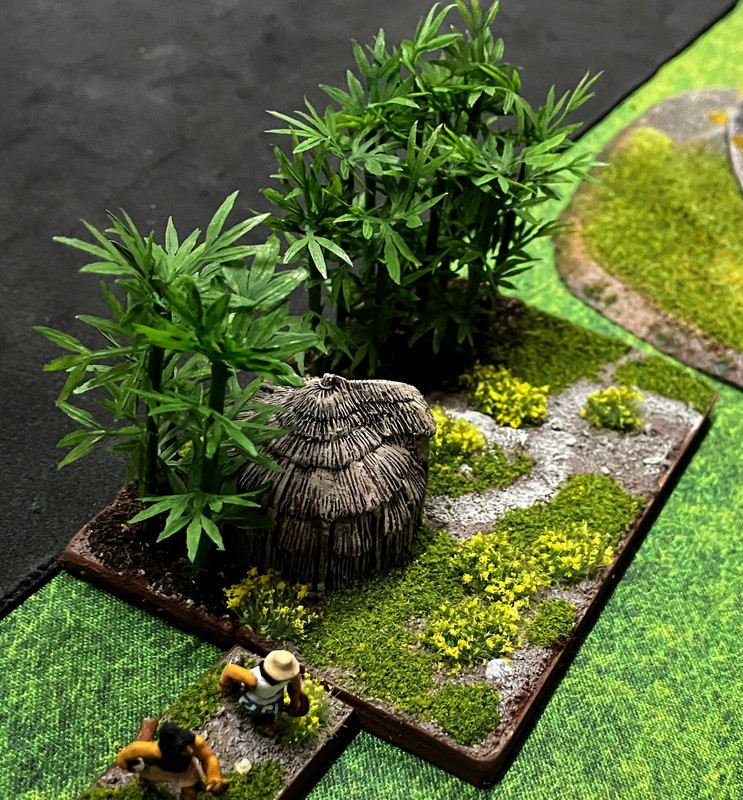
The Jomon camp.

Image

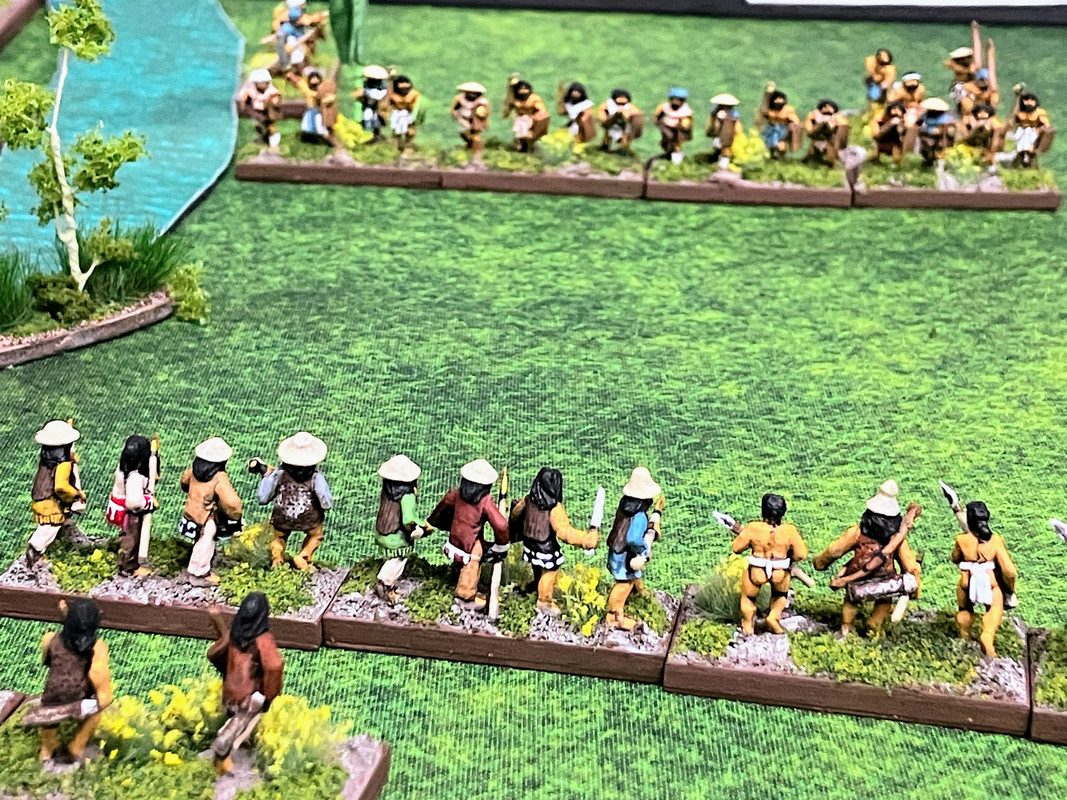
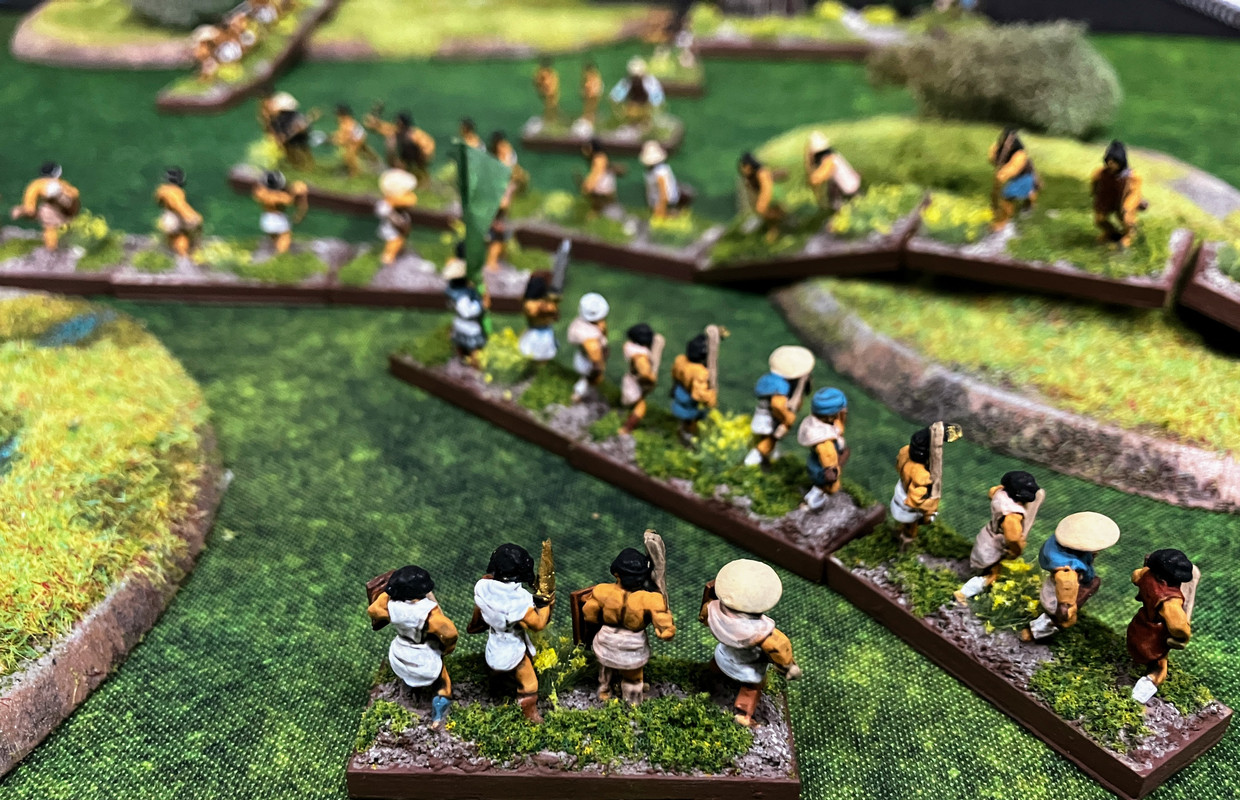
The Jomon swing around the stream and prepare to attack. They have fewer Heavy Foot but greater numbers.
Image

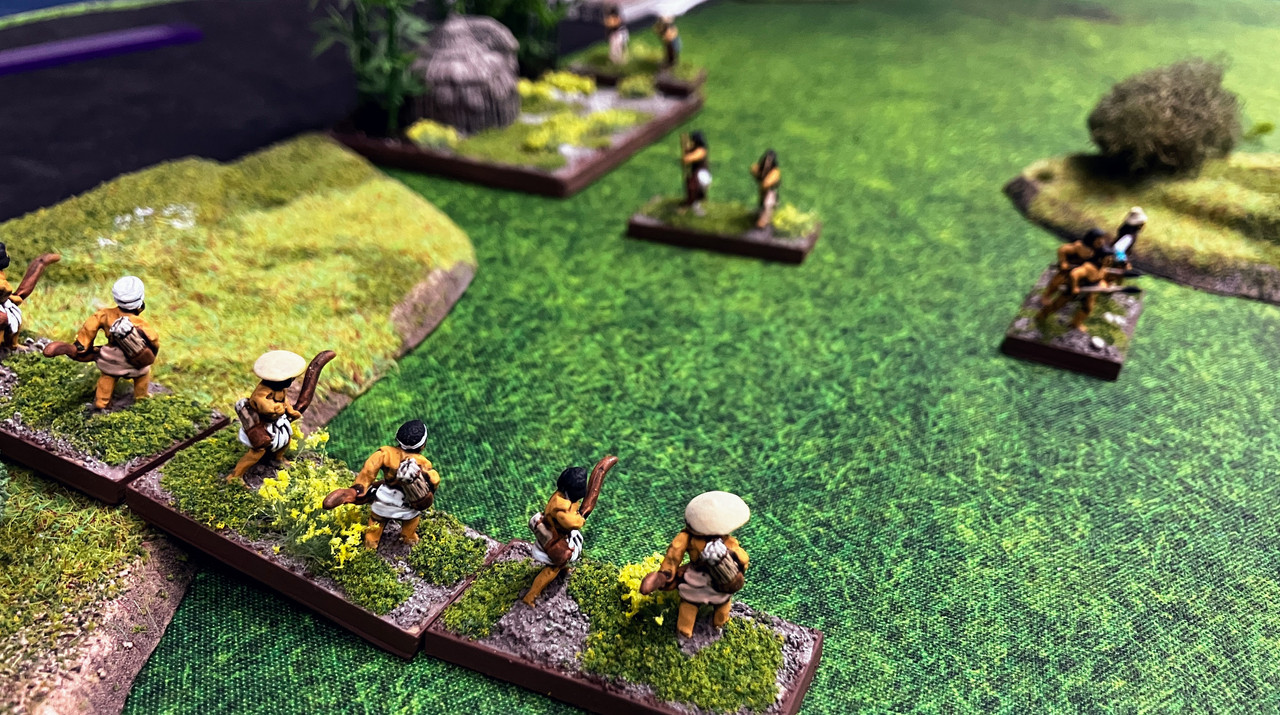
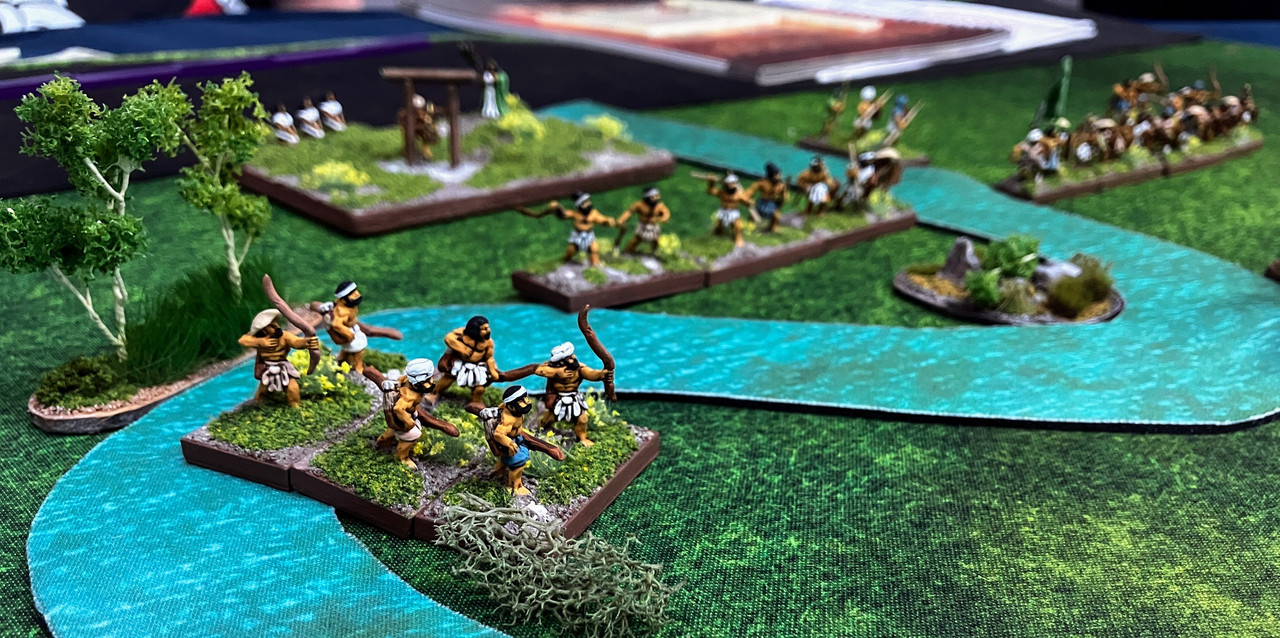
One of the Yayoi columns, being faced by only a small screen of Jomon Skirmishers, crosses the stream to attack.
Image

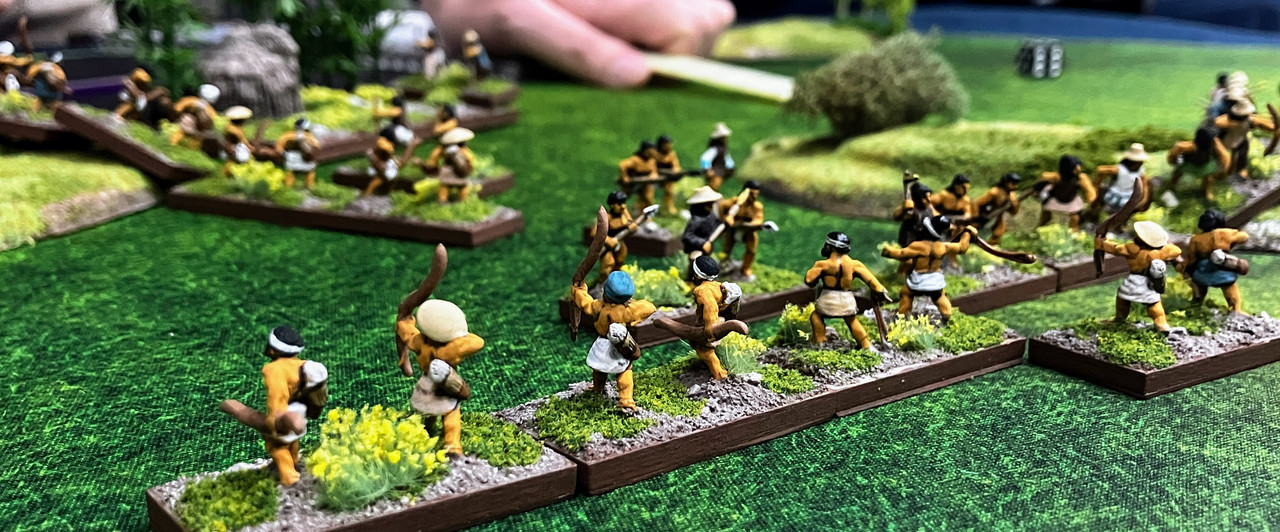
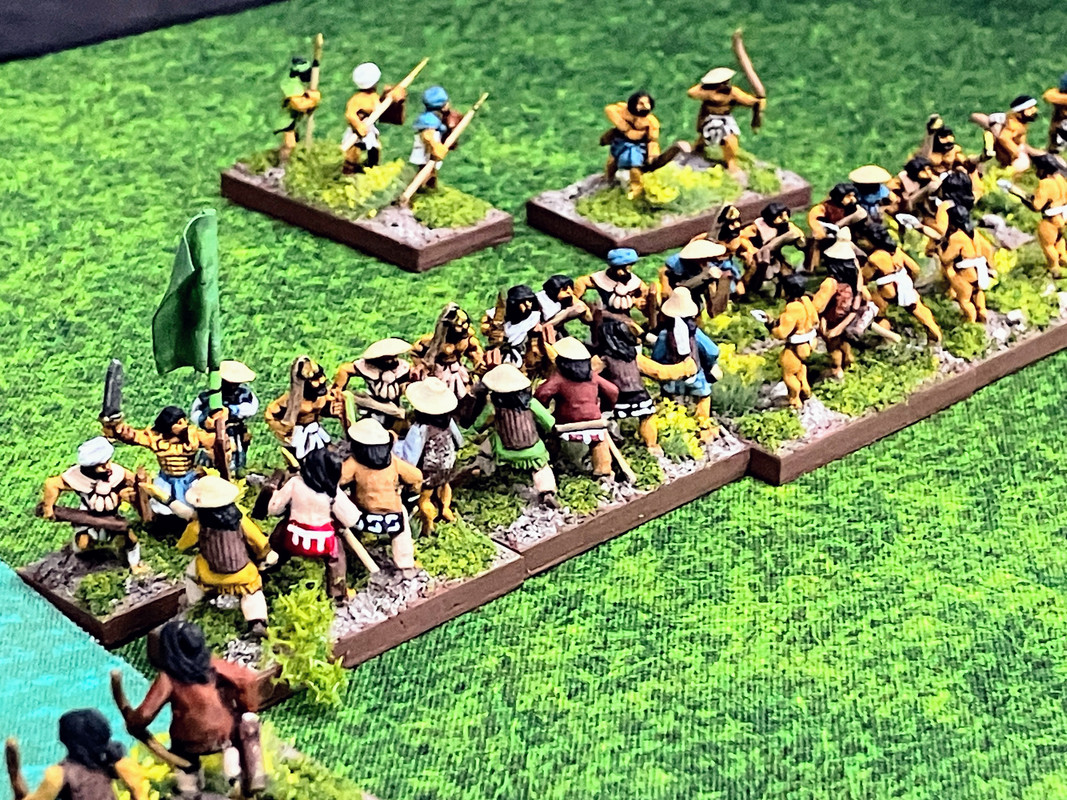
The main lines clash. One of the Yayoi Light Spear can be seen in the background, having crossed the stream and moving to extend the line.
Image

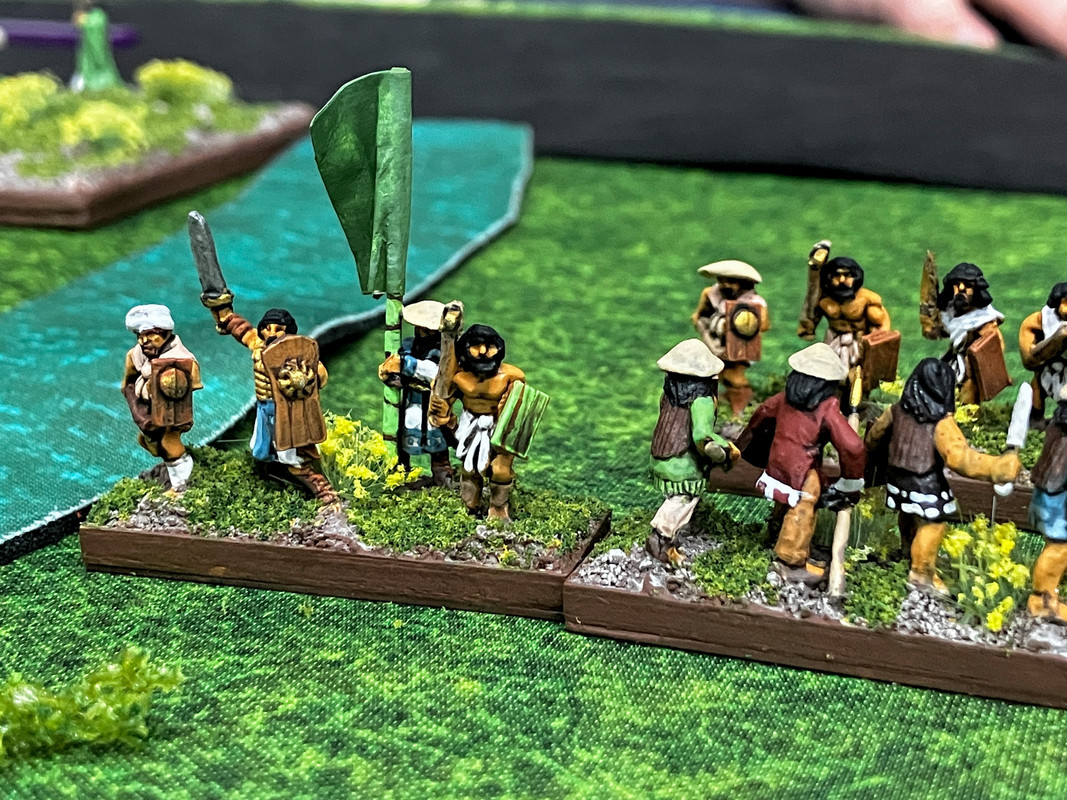
The Jomon general has a moment of fear when the Yayoi general crashes through his line by defeating some Jomon Light Spear.
Image

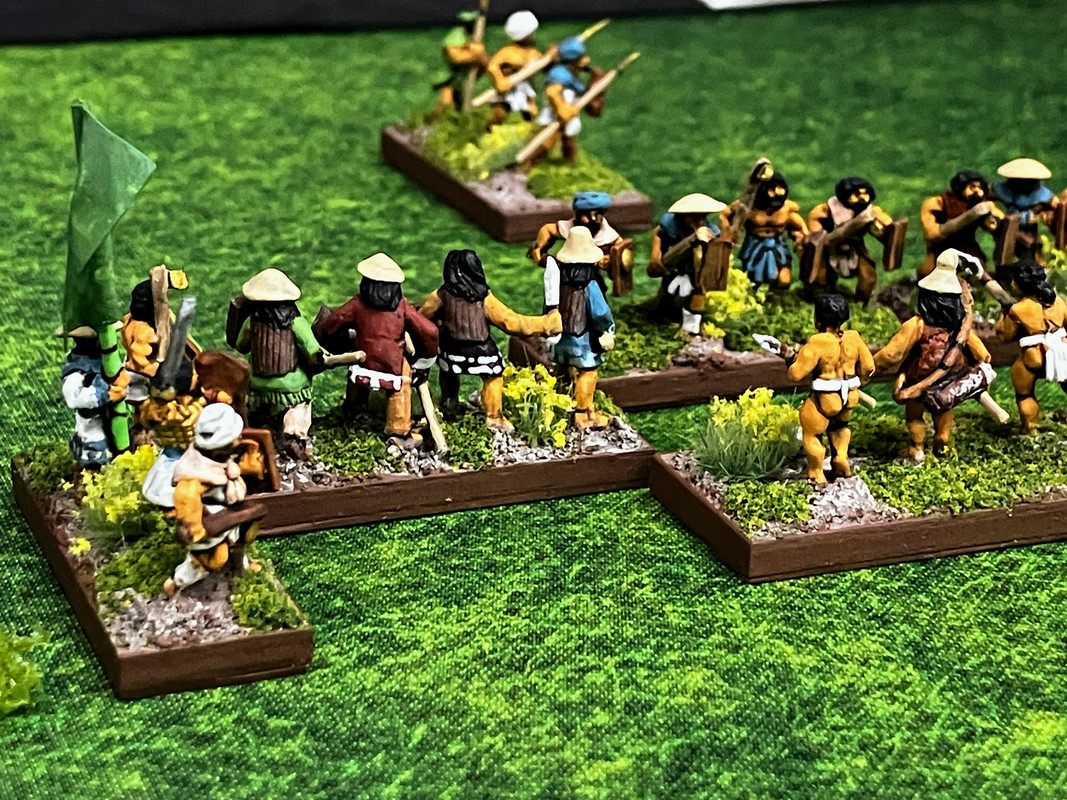
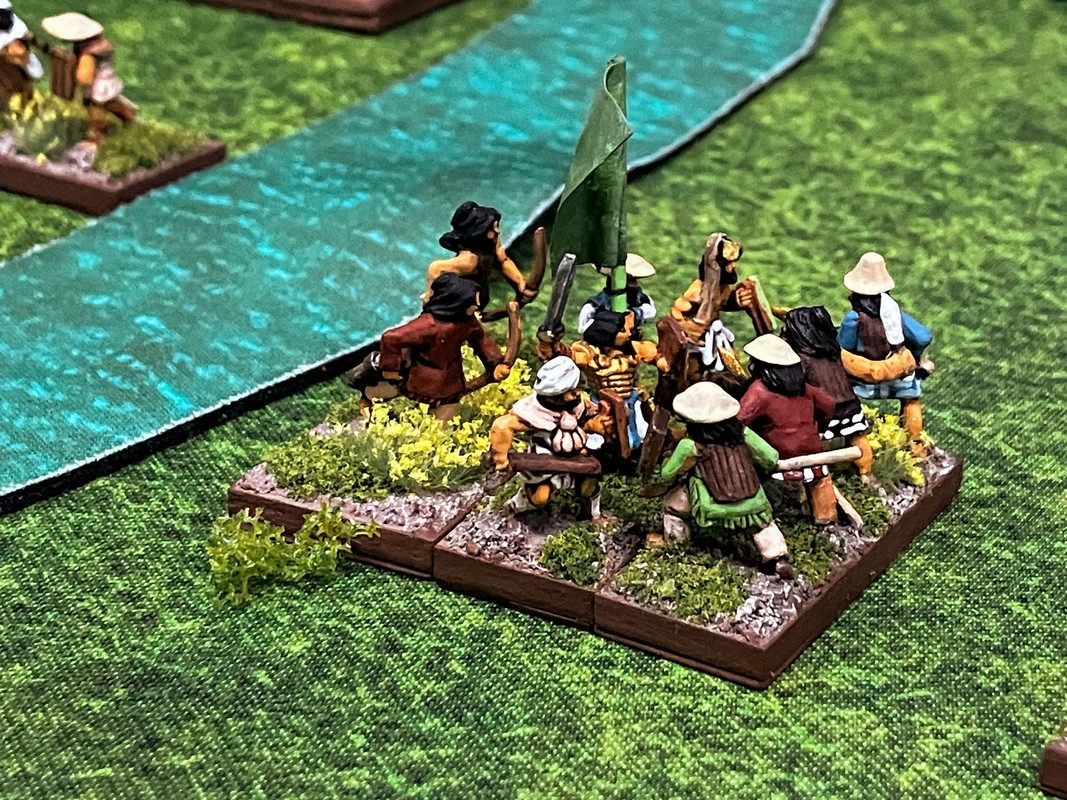
The Jomon general, whalebone sword in hand, presses the attack and defeats some Yayoi Heavy Foot.
Image

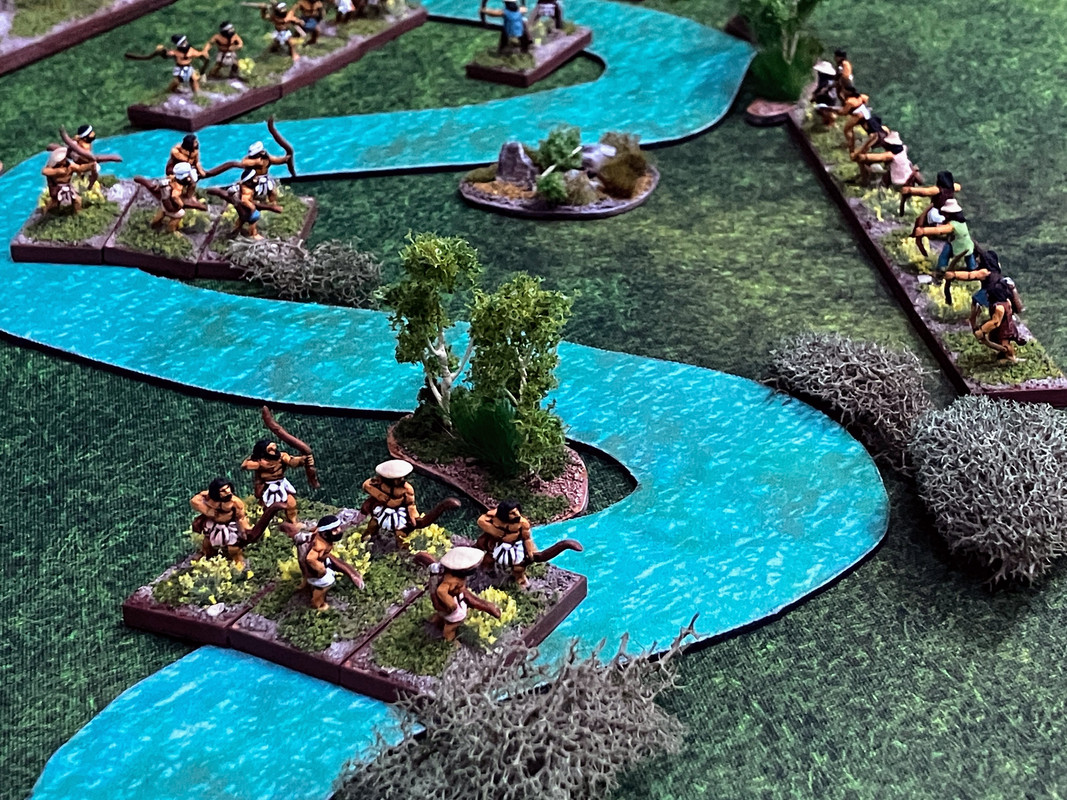
The Jomon and Yayoi general face each other, but the Yayoi general is caught from behind by some Jomon Skirmishers and is slain.
Image

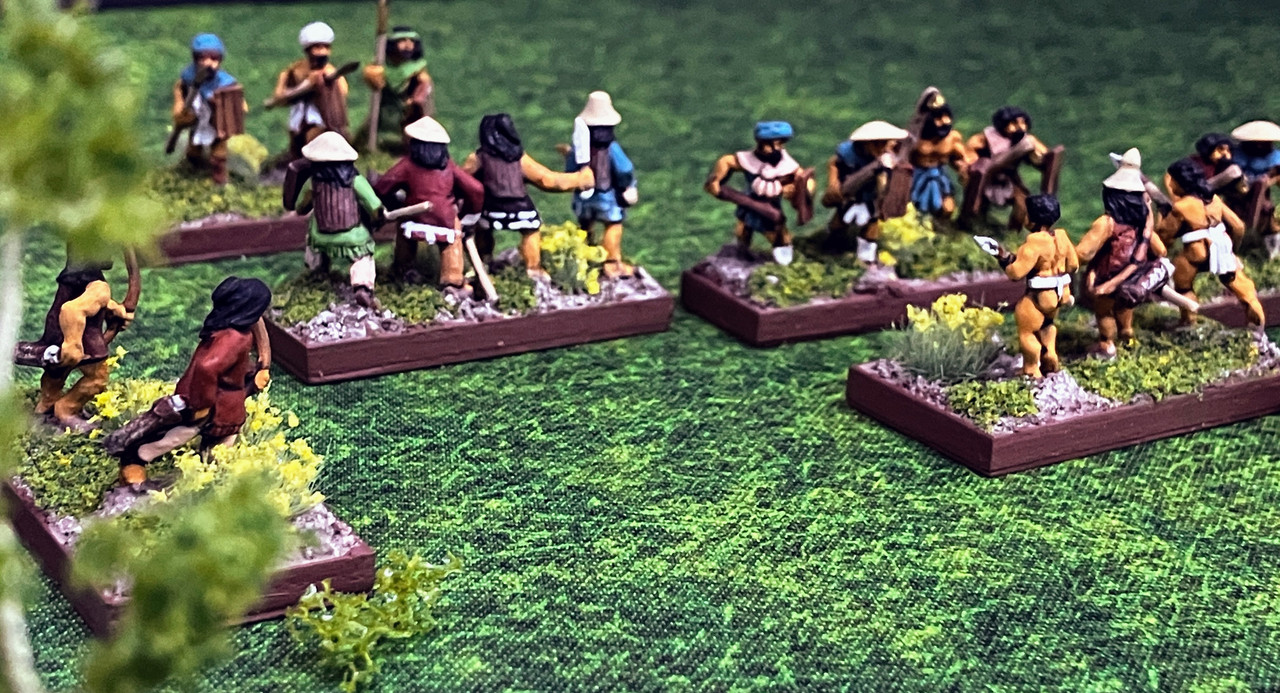
Without their general, the Yayoi attempts to cross the stream falter.
Image

The Jomon general continues to drive forward, driving back and destroying a Yayoi Light Spear. The battle is over.

Conclusion

The Yayoi suffered from low command die rolls throughout the game, which was the primary factor in the Jomon victory. More command points would have allowed him to press the attack by his columns across the stream. As always, Stephen is a great player and a good tactician.
Texus Maximus
Sergeant
Posts: 362
Joined: Tue Dec 13, 2016 4:04 am
Location: Dallas, Texas

Re: 15mm Yayoi vs. Jomon (Bronze Age Japan)

Post by Texus Maximus » Sun Mar 16, 2025 1:23 am

Stephen and I switched sides and we played again. I had the Yayoi and he had the Jomon.

Terrain and Setup

Image

The terrain this time was six steep hills.

The Yayoi set up with the Heavy Foot in the center and a mix of Light Spear and Skirmishers on their right. Some Skirmishers were on their left. Four Skirmishers were set aside for a flank march.

The Jomon were set up in a long line with a small reserve in front of the camp. The Heavy Foot were on the left side of the central hill. The Light Spear and Skirmishers were in a long line.

The Plan

Image

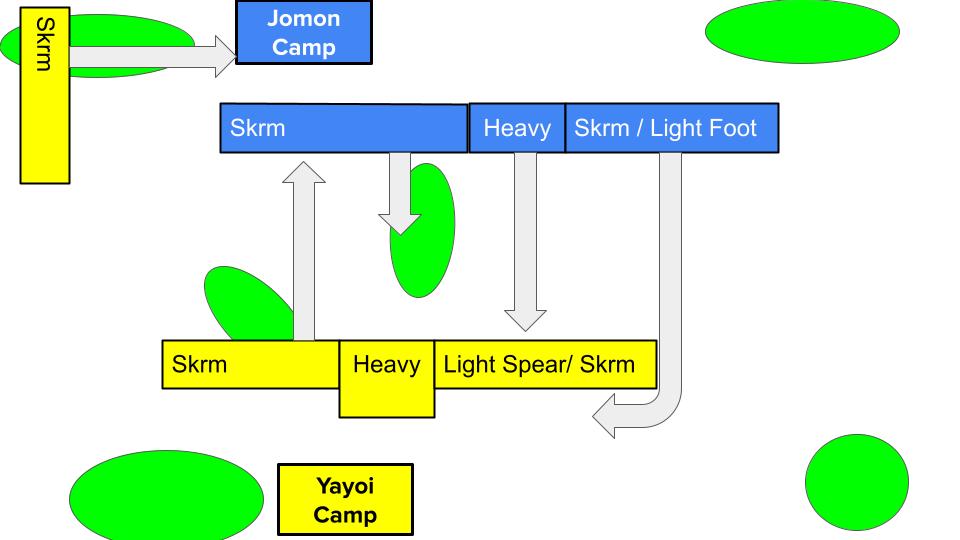
The Jomon plan was to seize the central steep hill quickly so they would have the uphill advantage and secure the General's flank. The Heavy Foot and the rest of the light troops would sweep around the central hill and attack the weak Yayoi flank and unprotected camp.

The Yayoi plan was to use the flank march to attack the camp. The Heavy foot and Skirmishers on their left flank would advance obliquely left through the valley to their front with the intent to attack the Jomon right flank and support the attack on the camp.

Image

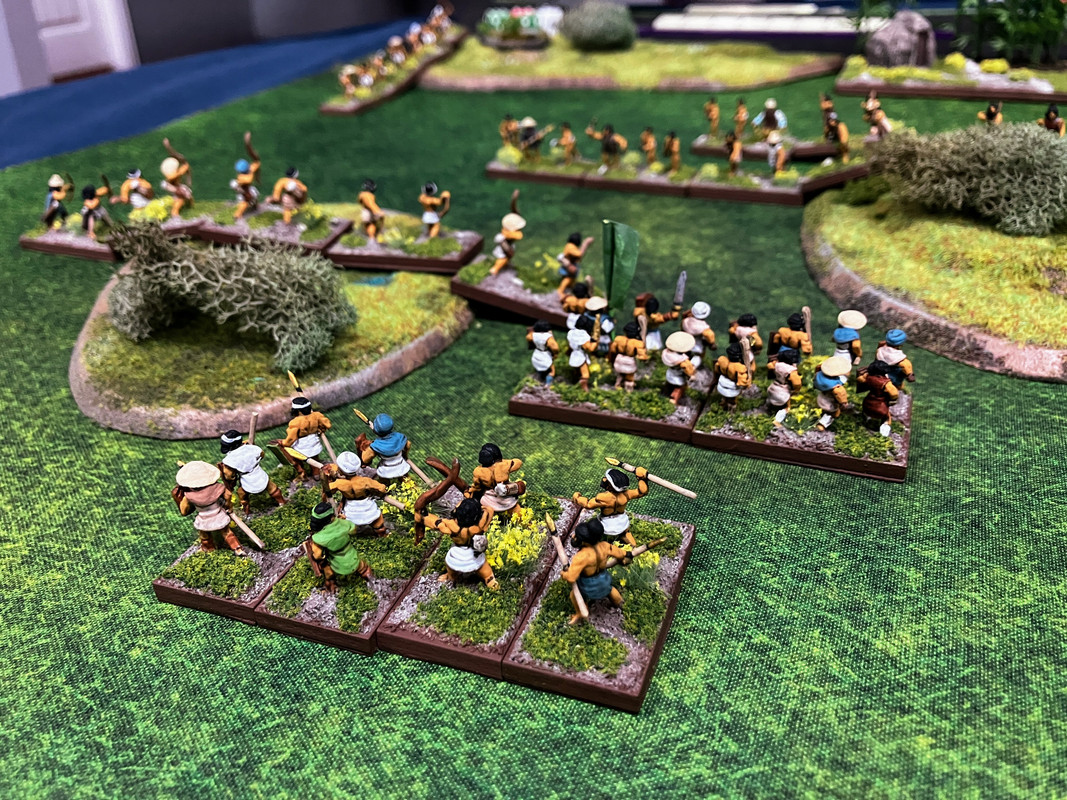
The Jomon line.

Image

The Jomon seized the central hill quickly, putting the planned advance by the Heavy Foot at great risk of flank attack if they continue through the small valley. The Yayoi right flank troops formed column and moved to support the main effort on the left flank.

Image

The Yayoi Heavy Foot deploy at the base of the hill. The flank attack (top edge of the photo) proceeds quickly towards the Jomon camp.The Jomon main effort starts to swing around the central hill.

Image

The advance by the Yayoi central column of Heavy Foot has stalled.

Image

The flank attack approaches the camp with little opposition.

Image

Yayoi Skirmishers attack the camp and the right flank of the Jomon line.

Image

An overview of the final phase of the battle. The Yayoi column is still too far away to help the main effort so two Skirmishers are turned back to help hold back the overwhelming Jomon force approaching the Yayoi camp. The Jomon general has moved to the top of the steep hill in order to improve his command and control. Jomon and Yayoi Skirmishers and some Light Spear are fighting furiously near the Jomon camp.

Image

The Jomon camp is captured. The Jomon keep fighting but the battle ends soon after.

Final Battle Situation

Image

This diagram shows the final disposition of troops.

Conclusion

The Jomon capture of the central hill caused the Yayoi Heavy Foot attack to stall. The only warriors to actually engage in battle were Yayoi and Jomon light troops in and in front of the camp. It was a close victory for the Yayoi; another two turns and they would have captured the unprotected Yayoi camp.
Post Reply